You've probably hit the same wall most creators hit. You publish a solid YouTube video, open Instagram, and expect a clean “share to feed” button. It isn't there. Then the fallback options start looking messy fast: a Story link that sends people away, a downloaded clip that gets cropped badly, or a repost that looks obviously recycled.
The fix is to stop treating this as a sharing problem and treat it as a format-choice problem. When you share a YouTube video to Instagram well, you're deciding between traffic and native reach, then preparing separate versions that fit each Instagram surface instead of forcing one file everywhere.
Table of Contents
- Why You Cannot Directly Share YouTube to Instagram
- Choosing How to Share Your YouTube Video on Instagram
- Preparing Your YouTube Video for Instagram Specs
- Publishing and Scheduling Your Video With SleekPost
- Copyright Quality and Performance Tips to Get It Right
- Your Repeatable Workflow for Sharing YouTube to Instagram
Why You Cannot Directly Share YouTube to Instagram
You post a video on YouTube, open Instagram, and expect the same file to drop into a Reel or feed post with one tap. Instagram does not support that workflow.
The reason is simple. Instagram does not offer a native YouTube embed for feed posts, Reels, or Stories. You can send viewers to YouTube with a link sticker, or you can upload a separate video file to Instagram. Those are two different publishing paths, not two versions of the same share action, as outlined in this breakdown of the YouTube-to-Instagram workflow.
What Instagram actually allows
Instagram gives you two workable options:
- Link sharing through a Story sticker or profile link, which sends the viewer out to YouTube
- Native uploading of a downloaded and edited clip, which Instagram treats as its own post
What it does not give you is an in-app YouTube player inside a Reel, feed video, or Story.
That limitation changes the strategy. A link sticker protects the full YouTube watch experience, but it adds friction because the viewer has to leave Instagram. A native upload usually performs better inside Instagram because playback starts in the app, but it requires editing, reframing, captions, and a rights check before you publish.
Practical rule: Use the link path when the goal is full-video views on YouTube. Use a native upload when the goal is reach and retention on Instagram.
This is also why "just share the YouTube video to Instagram" is the wrong mental model. The choice is format and destination. Story link for traffic. Native Reel or feed cut for discovery.
Creators who publish across Meta surfaces should also keep their account setup clean. If your distribution flow touches Facebook publishing too, this guide on connecting Instagram to Facebook properly helps prevent avoidable posting issues.
Why repurposing usually works better than linking alone
A pasted link rarely carries the whole job. Instagram rewards content that feels native to the surface where it appears. YouTube rewards longer watch sessions and a clear destination. Trying to force one file to do both usually leads to a weak result on both sides.
The better approach is to build small derivatives on purpose. Keep one version that sends people to the full YouTube upload. Cut one or two native Instagram versions that stand on their own, even if the full story lives on YouTube. That is the workflow I use because it matches how the platforms behave, and it avoids the usual problems: cropped framing, muted music, weak hooks, and posts that look recycled.
Choosing How to Share Your YouTube Video on Instagram
Before you edit anything, pick the destination. Feed, Stories, and Reels don't behave the same, and neither do the two main sharing methods.
Link sticker versus native re-upload
The biggest mistake I see is treating these as equivalent. They aren't.
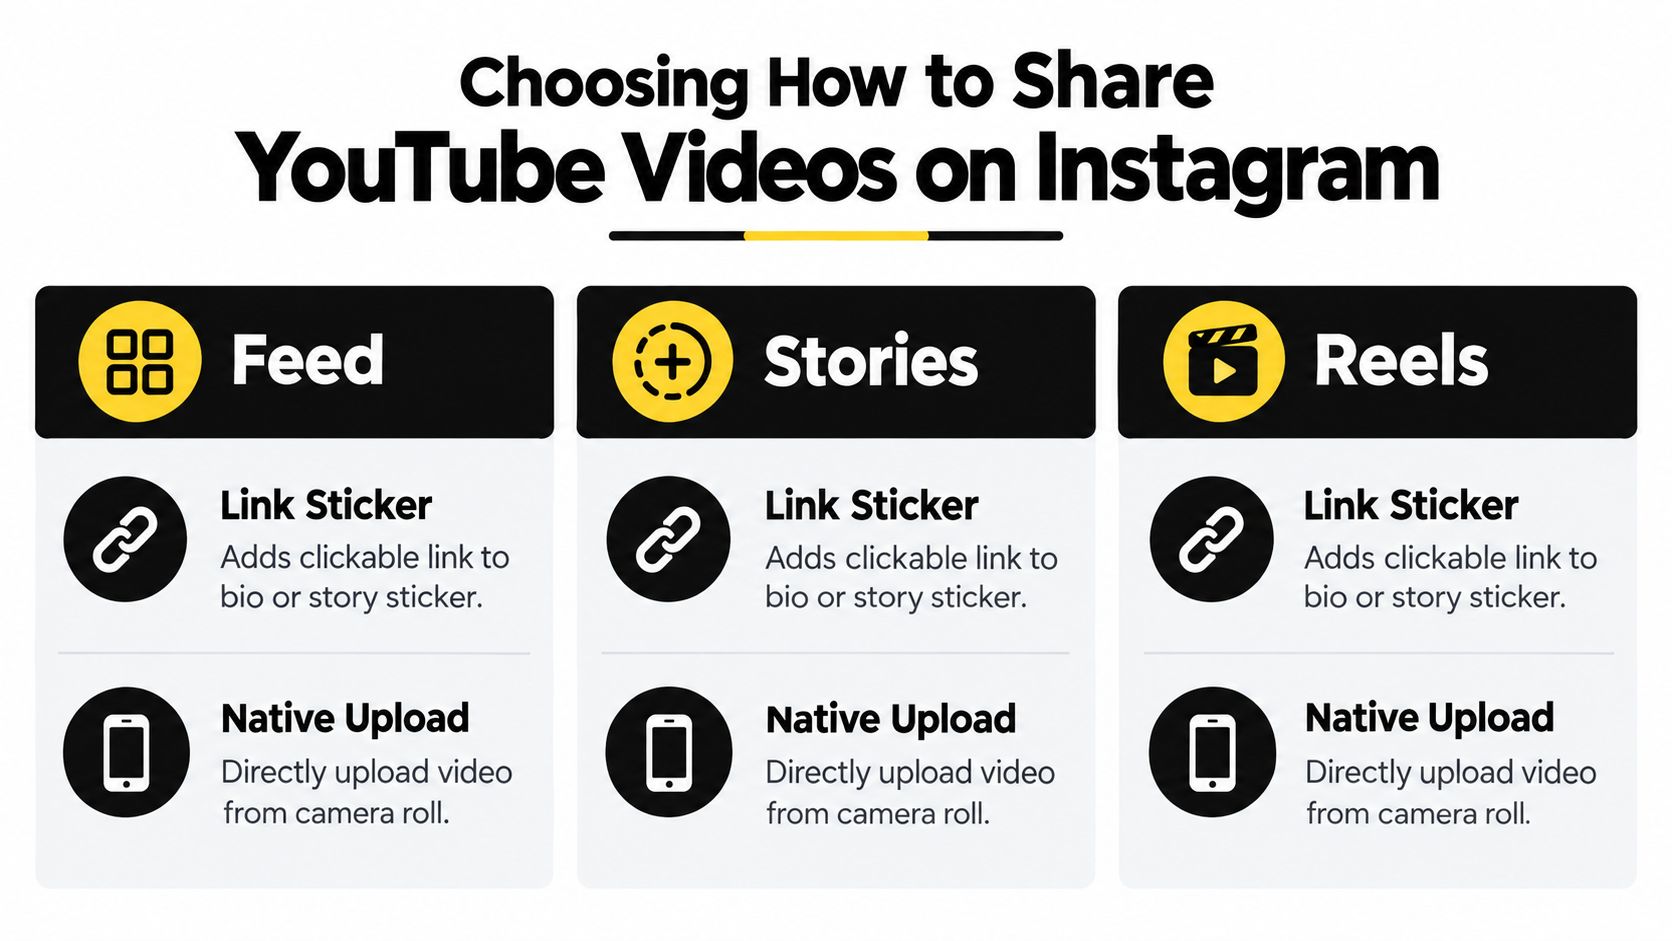
A link sticker is best when the full YouTube video is the destination. That fits launch-day promotion, product walkthroughs, interviews, or long-form tutorials where the value lives in the full watch on YouTube. A native re-upload works better when the Instagram post itself needs to earn attention first, then create interest in the full version.
One industry comparison reported brand interaction rates of 4.17% on YouTube versus 0.84% on Instagram, and also said a YouTube video was 4 times more likely to be shared than an Instagram photo. At the same time, a 2025 industry summary reported that Reels account for 50% of all time spent on Instagram and Instagram videos drive 60% of user time on the platform. Those numbers explain why creators often split the strategy instead of choosing one platform only, as summarized in these Instagram vs YouTube statistics.
Native clip for attention. Link path for depth.
Which Instagram format fits your YouTube video
| Format | Best For | Tradeoff |
|---|---|---|
| Feed | Evergreen clips, announcements, square or portrait edits | Less immersive than a full-screen vertical cut |
| Stories | Fast traffic, launch reminders, temporary promos | Relies on a click and disappears quickly |
| Reels | Discovery, retention, short hooks from long-form YouTube | Requires proper reframing and editing |
A simple decision matrix
Use this when you need a fast call:
- You're promoting your own long-form YouTube video. Start with a Reel cut if the opening hook is strong, then support it with a Story link.
- You're a brand sharing licensed partner content. Confirm usage rights first, then upload a native teaser only if your agreement covers editing and reposting.
- You're an agency handling approvals. Keep the Story link option handy for low-risk promotion, and only re-upload edited clips after client approval on framing, captions, and credit.
If your wider distribution plan includes other social channels, it can help to share YouTube video on Facebook for higher visibility while adapting the cut separately for Instagram instead of reusing the same file everywhere.
For surface-specific differences inside Instagram, this quick comparison of Reels vs Stories is useful when deciding whether you want discovery or click-through behavior.
Preparing Your YouTube Video for Instagram Specs
The safest way to repurpose a YouTube video for Instagram is to build three derivatives from one master, not one universal export.
Use a vertical-first export for Reels
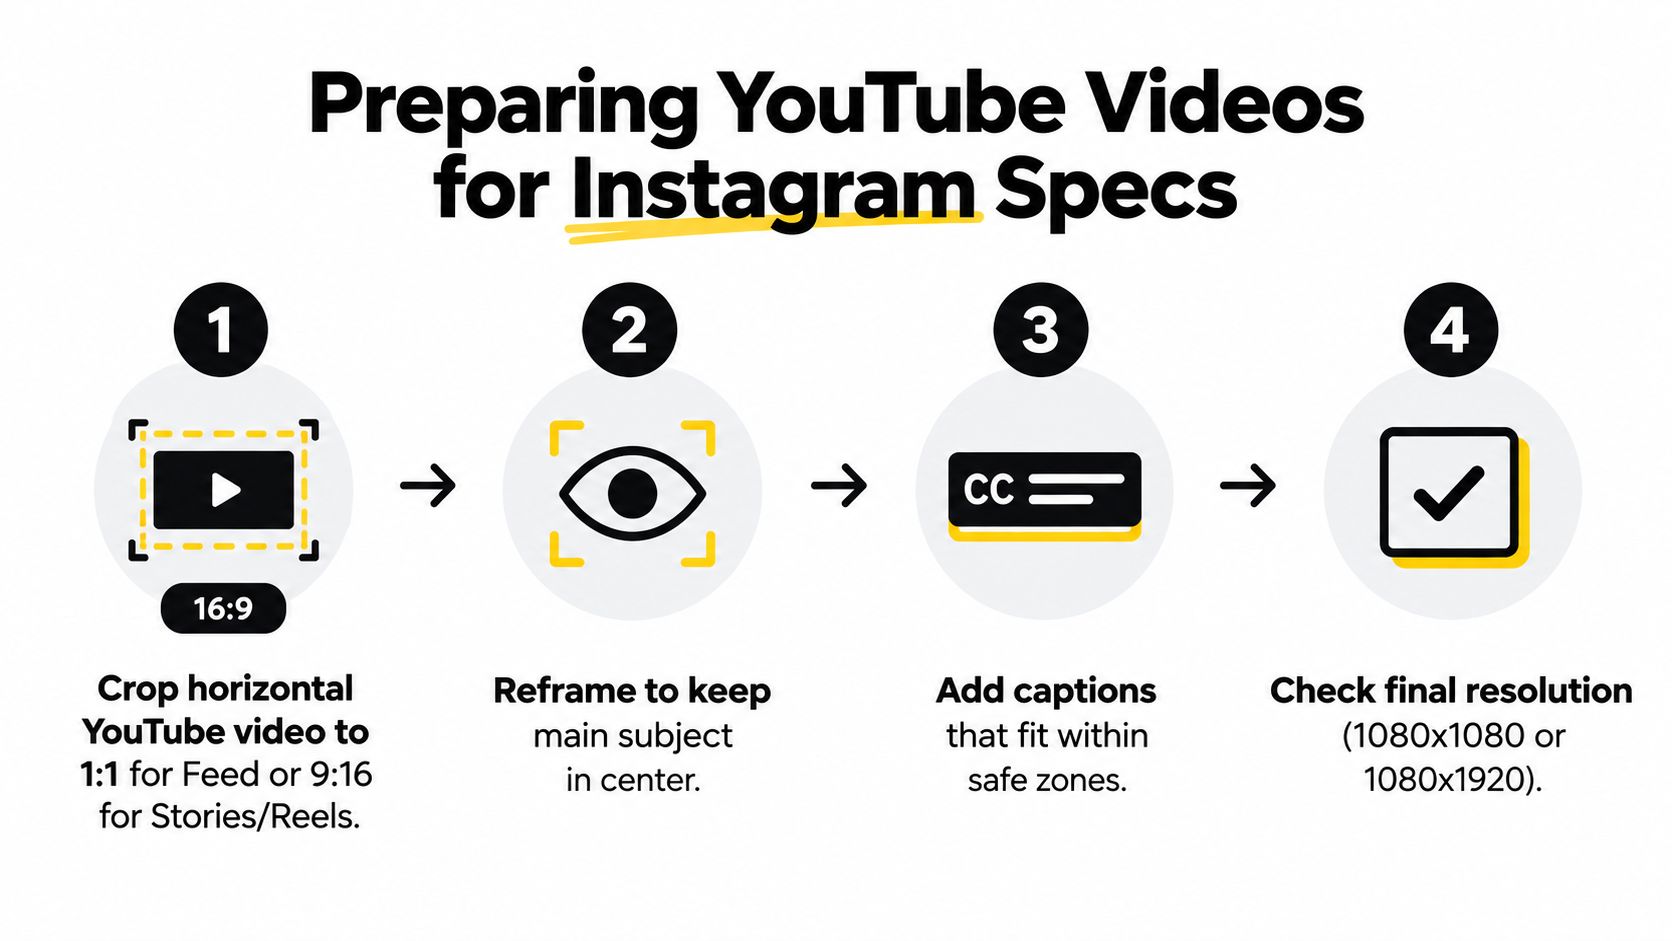
For Reels, the safest delivery spec is 9:16 at 1080×1920, exported as MP4 or MOV with H.264, and 30 fps is the most stable baseline. Independent spec guides also note that mixed-aspect exports often get letterboxed or downgraded in the Reels tab, which hurts the viewing experience. That guidance comes from this Instagram Reels spec reference.
If your YouTube source is 16:9, don't just enlarge and crop blindly. Reframe the actual focal point into the center vertical safe zone. Faces, products, and on-screen demos need to sit where Instagram won't trim them awkwardly.
Build three versions from one YouTube master
A practical workflow looks like this:
Reels cut
Pull one strong hook from the YouTube video and cut it as a full-screen vertical clip.Stories teaser
Create a short teaser that sets up the click. Keep the visual simple so the sticker or CTA doesn't fight with busy graphics.Feed version
Make a separate 4:5 or 1:1 version if you want grid placement without the cramped feel of forcing a Reel asset into feed.
Current references say Reels are generally treated as a short-form vertical format with a recommended 9:16 layout and around 90 seconds as the common public-facing limit, Stories break into 15-second segments and cap a sequence at 60 seconds, and feed posts can use 1:1, 4:5, or 16:9 but still work better with mobile-first framing. Those publishing differences are laid out in this YouTube-to-Instagram posting guide.
Burned-in subtitles that look fine on YouTube often sit too low for Instagram. Move them up before export.
The failure points that usually wreck quality
Most bad reposts break for predictable reasons:
Keeping the original YouTube framing
Wide talking-head videos leave huge dead space when forced into vertical.Placing captions too close to the edge
Instagram UI can cover lower text, especially in Stories and Reels.Exporting odd dimensions
Mismatched canvas sizes invite heavier recompression.Using low-quality source grabs
Screen recordings and downloader copies often look soft before Instagram compresses them again.
If you want cleaner uploads overall, this guide on how to upload high quality videos on Instagram is worth keeping in your workflow.
Publishing and Scheduling Your Video With SleekPost
Once the edits are done, the publishing step is where consistency usually slips. People have the files ready, then end up posting one version manually and forgetting the rest.
Write for the surface, not for the source video
Don't copy your YouTube description into Instagram.
A Reel caption should support the hook and tell the viewer what they'll get immediately. A Story needs almost no caption if the visual and CTA are clear. A feed post can carry a little more context, especially if the clip is educational or product-led.
If the video includes partner footage, licensed clips, or approved client assets, add the credit in the caption or asset notes before scheduling. That won't replace permission, but it keeps your workflow cleaner and easier to review.
Batch the three derivatives in one pass
A workable weekly routine looks like this:
- Monday upload the Reel cut
- Midweek publish the feed version for followers who engage from the grid
- Later in the week push the Story teaser with the YouTube link when you want direct clicks
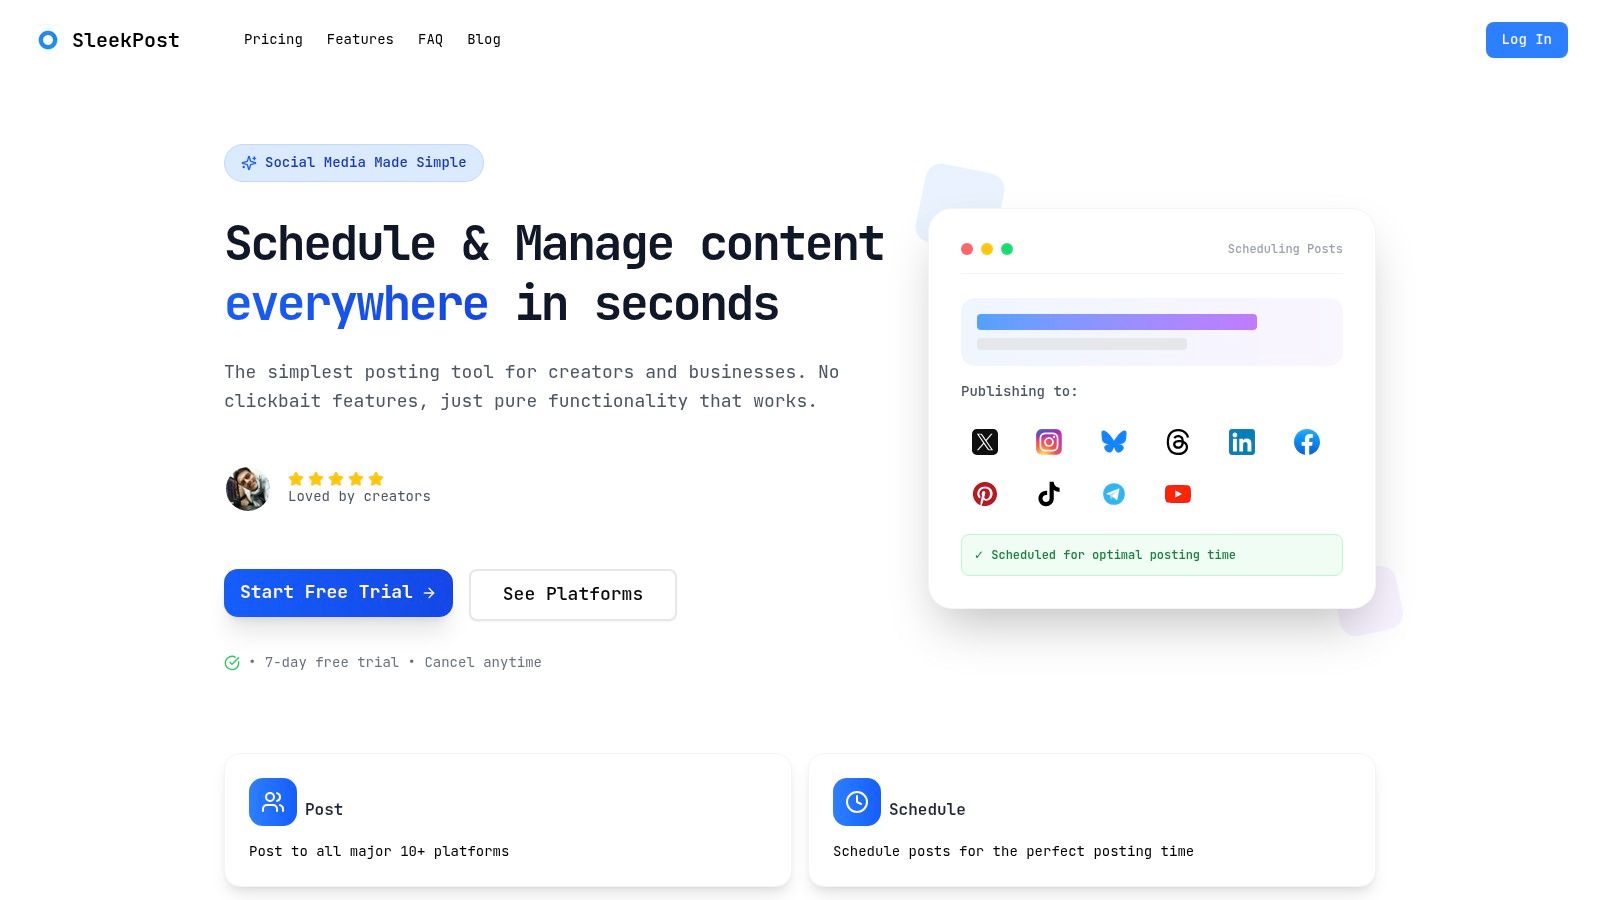
SleekPost is one option for this stage if you want to schedule platform-specific media and copy from one dashboard. It supports customizing copy and media per platform, queueing posts, and handling Instagram formats without jumping between separate tabs and reminders.
A scheduling walkthrough helps if you haven't set up that process yet. This Instagram Reels scheduling guide covers the practical side.
One more useful reference:
Keep approvals attached to the asset
Agencies and teams should attach the approved caption, credit language, and target surface to each version of the video. That avoids a common mistake where the approved Story teaser gets accidentally posted as a Reel, or the feed version goes up with the wrong CTA.
The cleaner the asset packaging is, the easier it is to repeat this every week.
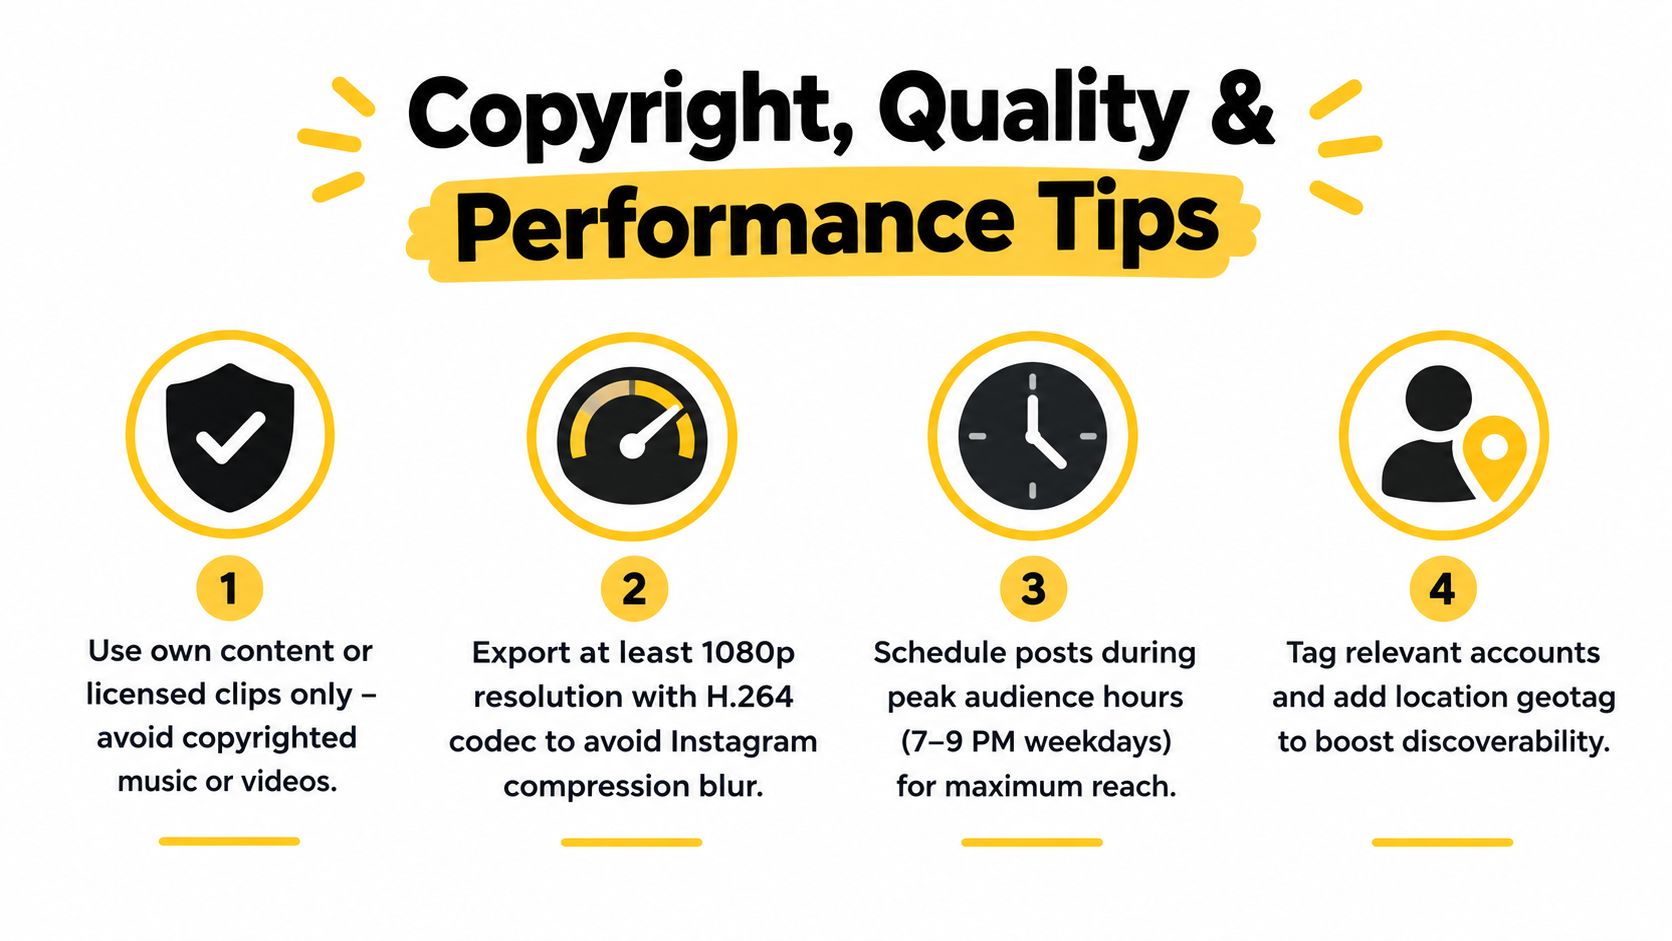
Copyright Quality and Performance Tips to Get It Right
The fastest way to create a problem is to focus only on mechanics. A YouTube-to-Instagram repost can fail legally, visually, or strategically.
Use the right sharing path for the rights you actually have
There's a real difference between sharing a link to a YouTube video and reposting the actual video file. Most guides focus on how to copy a URL or download a clip, but they skip the rights question entirely. That gap is called out in this article on sharing YouTube videos on Instagram.
Here's the simple version:
- Your own content is the easiest case. You can cut and adapt it for Instagram.
- Licensed partner content depends on the agreement. Check whether editing, subtitle changes, and cross-platform reposting are covered.
- Third-party content you don't control should stay a link share unless you have permission to re-upload it.
If your clip includes music and you're cleaning up the soundtrack before reposting, a 2026 guide to royalty free tracks can help you avoid turning a decent edit into a rights headache.
Native-looking video usually wins on retention
A lot of current how-to pages still push third-party downloaders or screen recording as fallback tactics. That's risky because low-quality source files, awkward aspect ratios, and rough captions stand out more now that polished vertical video is the norm. That performance and format gap is discussed in Clipchamp's write-up on posting YouTube videos to Instagram.
If the repost looks like a repost, viewers can tell in a second.
A few checks before publishing help more than people think:
- Look at the first frame. If it doesn't make sense without context, change it.
- Watch once with sound off. Instagram viewers often decide visually first.
- Check text placement on device. Editing software previews don't always match Instagram's overlays.
- Compare link goal versus watch goal. Don't use a native upload when the objective is getting people to the full tutorial.
If you need to pull one strong segment from a longer video before any of this, clipping a YouTube video for social is usually the cleanest first step.
Your Repeatable Workflow for Sharing YouTube to Instagram
The process gets easier when you stop improvising each post.
Start with one question: do you want clicks to YouTube or attention inside Instagram? That decision tells you whether to use a Story link, a native upload, or both. From there, build your three derivatives from the YouTube master, publish each to the right surface, and do a final quality check on-device before it goes live.
A simple repeatable checklist:
- Decide the goal before touching the edit
- Pick the Instagram surface that matches that goal
- Create separate Reel, Story, and feed versions
- Export in Instagram-friendly specs
- Check captions, credits, and framing
- Schedule the assets across the week
- Review what earned clicks and what held attention
That loop is what makes repurposing sustainable. One YouTube upload can become multiple Instagram touchpoints without looking lazy, cropped, or out of place.
If you're turning YouTube videos into Reels, Stories, and feed posts every week, SleekPost gives you one place to organize the derivatives, tailor captions by platform, and schedule them without bouncing between tools. It fits this workflow well when you want to batch content, keep approvals clean, and stay consistent after the edit is done.